
These strawberry sourdough discard pop-tarts are a little homemade breakfast nostalgia … buttery pastry, strawberry jam, vanilla icing, and enough (dye-free) sprinkles to make them feel fun.
They are a hand-rolled toaster-style pastry, so expect tender, flaky edges rather than an exact copy of the boxed version. The discard goes into the dough for flavor, and the strawberry filling can start with a jar of jam you already have.
There is no starter feeding schedule or overnight rise to work around. You do need to keep the dough cold, give yourself some counter space, and accept that a little jam might sneak out of an edge. Still very much worth eating.
Sourdough discard pop-tarts with strawberry jam
Use plain 100% hydration discard, meaning starter maintained with equal weights of flour and water. This recipe uses cold butter and a short mixing time, much like pie dough. The strawberry jam gets a little starch to help it stay in place during baking, and the icing goes on only after the pastries are completely cool.
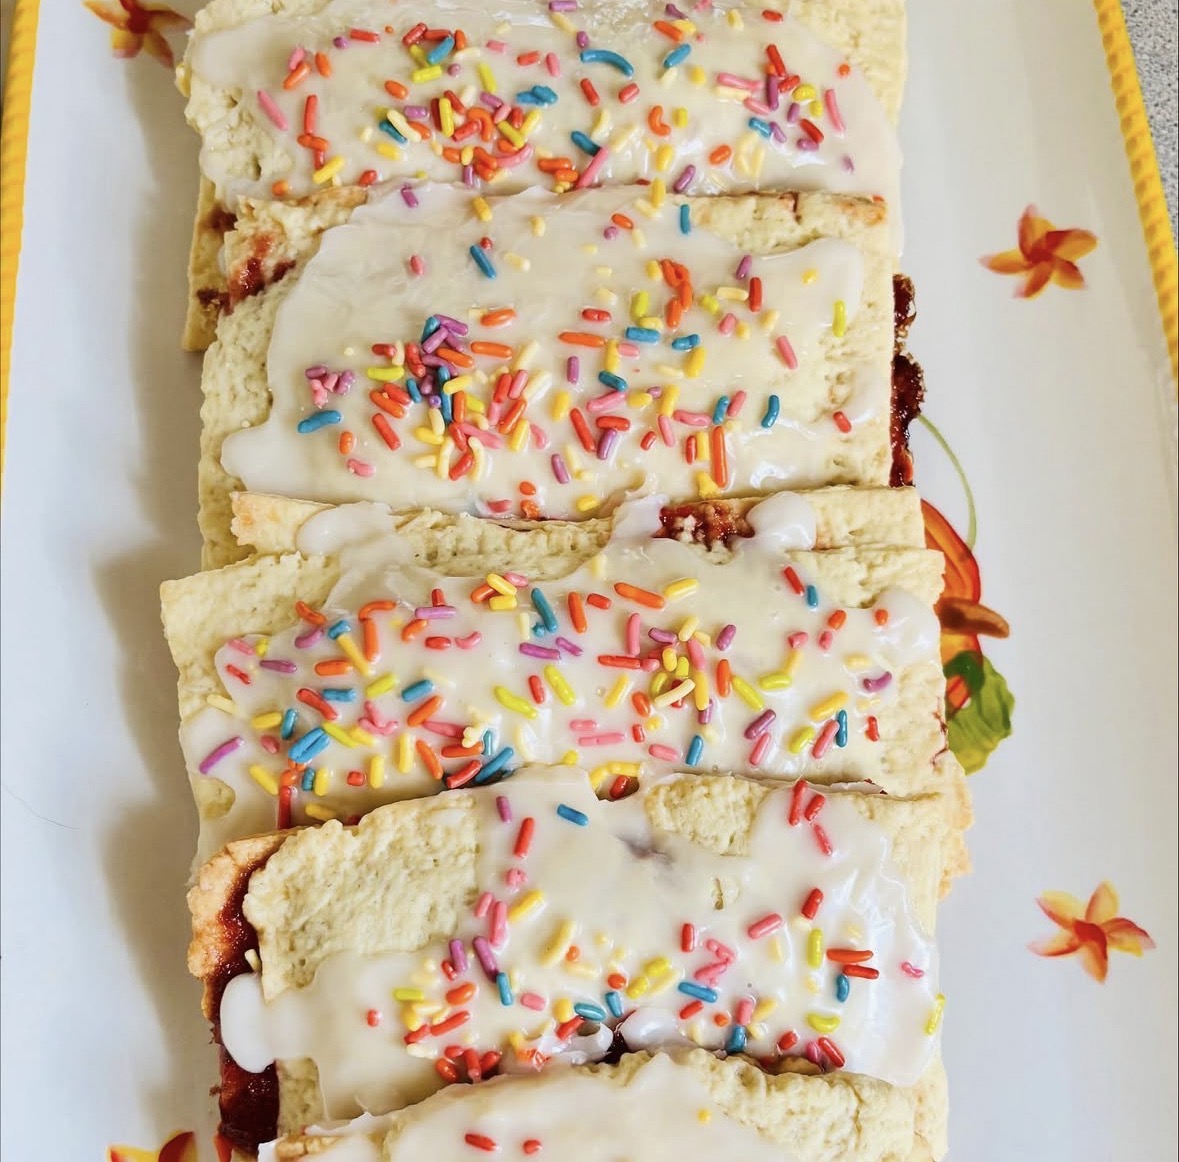
Strawberry Sourdough Discard Pop-Tarts
Ingredients
Method
- Mix the dry ingredients. Whisk the flour, sugar, and salt in a large bowl.
- Cut in the butter. Work in the cold butter with a pastry cutter or your fingertips until the mixture has coarse crumbs and some pea-sized pieces. Stop before the butter becomes soft or the mixture turns into a paste.
- Add the discard. Stir in the cold discard. Add ice water 1 tablespoon at a time, using only enough for the dough to hold together when squeezed. It can look a little crumbly before you press it together; do not knead it smooth or automatically add all the water.
- Chill the dough. Divide in half and press each half into a flat rectangle. Wrap and refrigerate for at least 1 hour, or up to 2 days.
- Prepare the filling. Stir the cornstarch and cold water together in a small saucepan, then stir in the jam. Bring to a gentle bubble over medium-low heat, stirring, and cook about 1 minute until thickened. Transfer to a bowl and cool completely before filling the pastry. This is a pastry filling step, not a canning recipe.
- Roll and cut. Line a baking sheet with parchment. On a lightly floured surface, roll one dough portion into a rectangle approximately 10 × 14 inches, about 1/8 inch thick. Trim or patch the edges as needed. Cut into 8 rectangles, each about 3 1/2 × 5 inches: split the 10-inch side in half and the 14-inch side into four. Repeat with the second portion so you have 16 matching rectangles. Keep the dough cold, returning it to the refrigerator if it softens.
- Fill. Arrange 8 rectangles on the baking sheet, allowing space between them. Beat the egg and water together. Brush a little egg wash around the edges of each bottom rectangle. Place about 1 tablespoon cooled strawberry filling in the middle and spread lightly, keeping a 1/2-inch border clear on all sides.
- Seal and vent. Top with the remaining rectangles. Gently press around the filling to remove trapped air, press the edges together, then crimp firmly with a fork. Poke 3–4 small steam holes in each top. Brush lightly with egg wash, avoiding heavy drips along the edges.
- Chill again. Refrigerate the assembled pastries for 20 minutes while the oven heats to 375°F. If your tray is crowded, divide the pastries between two sheets and bake one sheet at a time, keeping the other refrigerated.
- Bake. Bake for 25–30 minutes, until the pastry looks dry and set, with light golden edges and a lightly golden underside. Add a few minutes if needed; underbaked pastry can look pale and feel doughy. Let cool on the pan for 10 minutes, then transfer carefully to a rack and cool completely.
- Ice and decorate. Whisk the powdered sugar, vanilla, and 1 1/2 tablespoons milk together. Add more milk a few drops at a time only if needed. The icing should spread slowly rather than run off the pastry. Spoon over the cooled pastries, leaving a little border. Add sprinkles before the icing sets.
Notes
How to keep the strawberry filling inside the strawberry sourdough discard pop-tart
Use a modest amount of filling, leave the border clean, and seal before you crimp. Overfilling is tempting, but the jam expands as it heats. A few small vents give the steam somewhere to go.
A little leakage is normal with homemade pastries. Let the leaked jam cool before moving the pastries … hot jam is sticky and can burn.
Make-ahead options
Mix the pastry dough up to 2 days ahead and keep it wrapped in the refrigerator. You can also freeze the assembled, unbaked pastries on a tray, then transfer them to a freezer container for up to 2 months for best quality. Bake from frozen, adding time as needed and checking that the bottoms and edges are baked through. Ice after baking and cooling.
Storage and reheating
Because this version uses a milk-based icing, refrigerate the finished pastries in an airtight container and enjoy within 3–4 days. The pastry tastes best the day it is baked. Freeze cooled, uniced pastries for up to 2 months for best quality.
To rewarm, heat uniced pastries on a lined baking sheet in a 325°F oven until warm, then cool before icing. Avoid a slot toaster, especially with iced pastries or exposed filling; icing and jam can drip and scorch. You can let refrigerated iced pastries stand briefly before eating if you prefer them less cold.
Can I change the filling?
A thick raspberry or blueberry jam would fit the same basic method. Keep the amount small and skip very runny fillings. Chocolate or custard fillings need their own formulation rather than a direct swap in this draft.
Jam, powdered sugar, and vanilla are the kind of pantry staples I like keeping around for baking projects like this. If you shop through my Thrive Market link, you can use it to browse pantry ingredients for your own kitchen.
Want more discard recipes?
For other easy discard recipes, try my Fresh-Milled Pumpkin Chocolate Chip Muffins.
Leave a Reply